

This Content Is Only For Subscribers
When a line bursts at 10 p.m., you don’t need everything—you need the right things within arm’s reach. An emergency plumbing kit turns “panic and towels” into a 15-minute stabilization. Build it once, stage it where your team can grab it, and restock after every event. Here’s the streamlined, field-tested loadout for rentals—especially handy when Texas temperatures yo-yo.
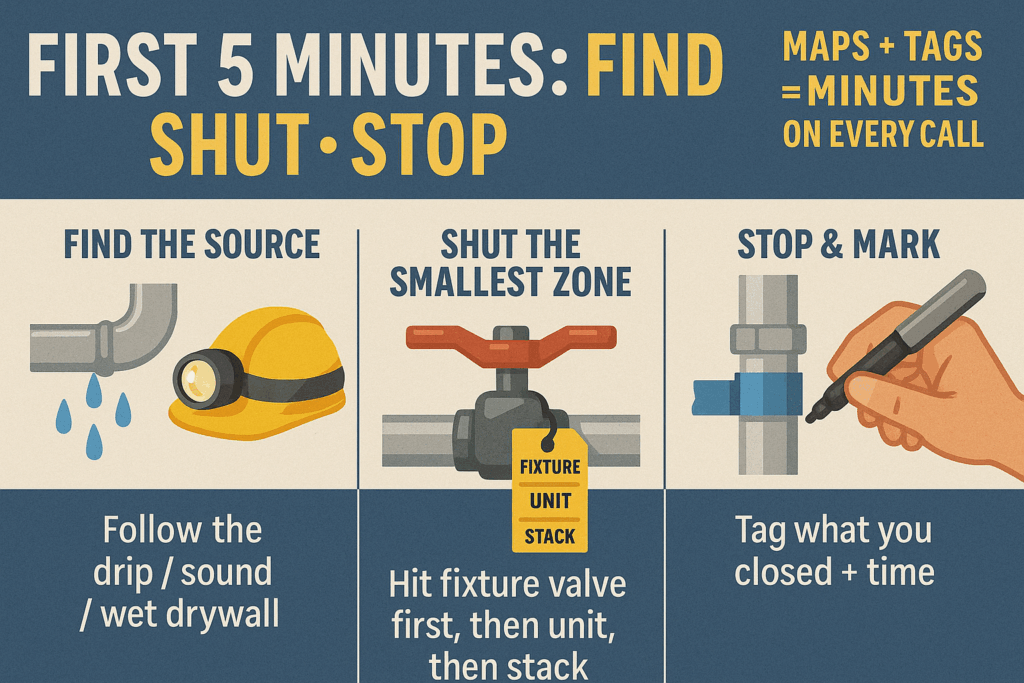
1) Find–shut–stop: the first five minutes
Shutoff tools & guides
Curb water key and small meter wrench
Bright valve tags and laminated shutoff maps (main, risers, unit valves)
Headlamp, marker, painter’s tape (label the valve you closed)
Why: The fastest save is the smallest shutoff—fixture → unit → stack. Maps and tags cut minutes.
2) Plug the problem (temporary repairs)
Push-fit fittings (PEX/copper)
½” and ¾” couplings, end caps, elbows
Short lengths of PEX, copper cutter, de-burring tool
Quick stops & connectors
⅜” compression angle stops (straight & 90°)
Braided supply lines (toilet/sink, assorted lengths)
Teflon tape, pipe dope, assortment of rubber washers
Hose bib & exterior
- Faucet covers, vacuum-breaker caps, spare hose gaskets
Why: Push-fits cap a live problem fast, supply lines replace brittle ones, and angle stops restore control without opening walls.
3) Control the water you can’t see
Extraction & containment
Wet/dry vac with spare bags, squeegee, contractor bags
Absorbent pads, microfiber towels, plastic sheeting, spring clamps
Utility pump (small, submersible) and a discharge hose (if you have basements/low spots)
Moisture verification
Moisture meter and IR thermometer
Blue tape to mark wet zones, clipboard for readings
Why: Water spreads sideways and down. Extract quickly, then meter so you know where to open baseboards or bring in mitigation.
4) Protect downstream units & finishes
Put cones/wet floor signs in corridors/stairs
Pry bar and multi-tool to vent baseboards (remove the bottom 2″ to air cavities)
Painter’s tape + plastic to shield cabinets and flooring
Why: Ten minutes spent containing saves days of demo.
5) Water heaters & fixtures
Dielectric nipples and flex connectors for ¾” WH hookups
Spare T&P discharge tubing and adapters
Toilet repair set: wax rings, tank bolts, flapper assortment, fill valve
Why: Many after-freeze calls are failed T&Ps, leaky flexes, and loosening toilets.
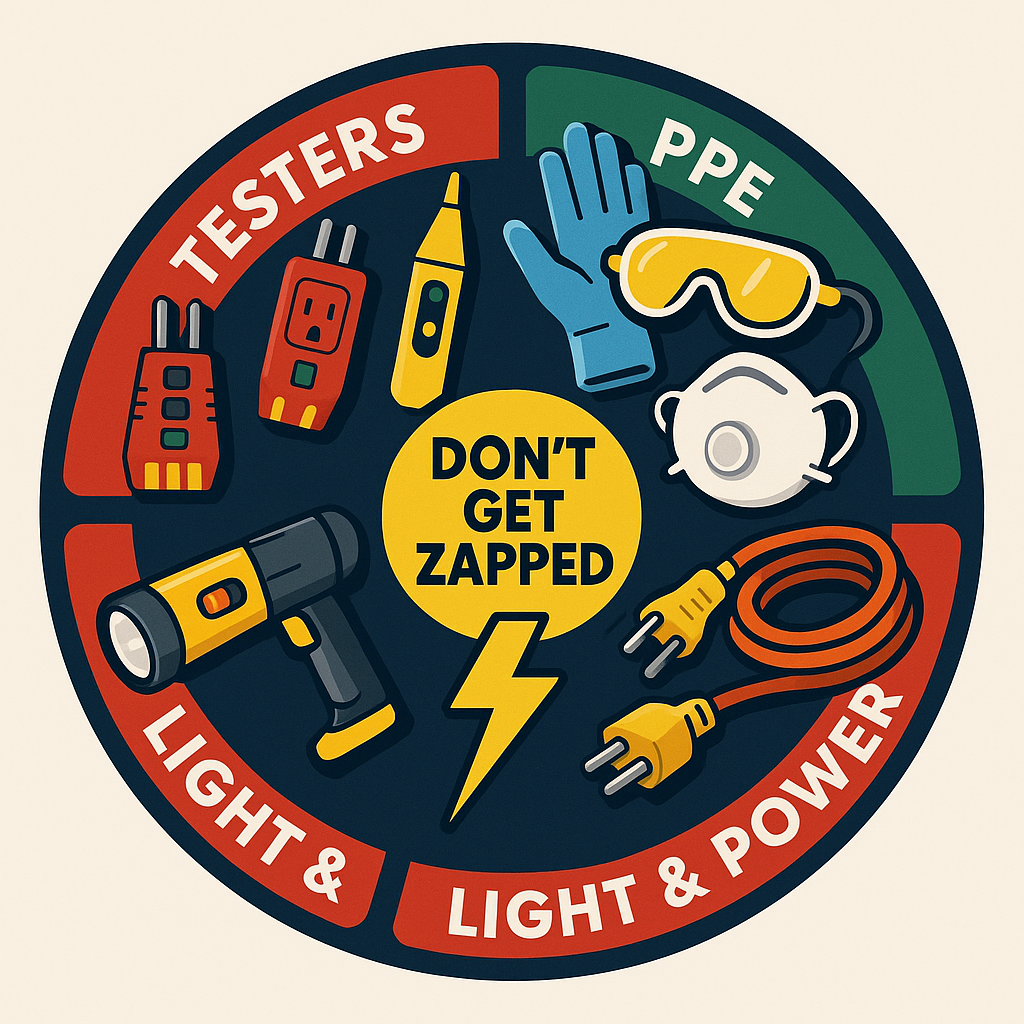
6) Safety & power
GFCI tester, outlet tester, and non-contact voltage pen
Nitrile gloves, safety glasses, knee pads, N95s, Tyvek suit
Heavy-duty extension cords (rated/grounded) for supervised, temporary use only
Flashlights/headlamps with fresh batteries
Why: Wet areas plus electricity is where accidents happen—test before you touch.
7) Label, stage, and drill
Kit layout (use colored crates/pouches):
Blue – Leak Stop: push-fits, caps, cutters, supply lines, angle stops, tape
Black – Extraction: vac accessories, towels, pads, plastic, clamps
Yellow – Docs: incident forms, moisture/IR meters, Sharpies, tape
Red – Safety/Power: testers, PPE, lights, extension cords
Staging: Put the master kit by your shutoff map, with a smaller “go bag” in the office and truck. Tape a five-line playbook to the lid:
Identify → Shut off smallest zone → Cap/patch → Extract & mark wet areas → Call plumber + mitigation (parallel) → Document.
Drill twice a season:
- Scenario A: “No water at kitchen, no visible leak.” Warm, monitor, slow repressurize.
- Scenario B: “Active leak through ceiling.” Shut, cap, extract, vent base, dispatch.
Time the drill—speed becomes muscle memory.
8) Documentation (the quiet superpower)
Carry incident forms and shoot eight quick photos: wide area, close problem, valve you shut, meter reading, mitigation setup, ceiling/floor below, unit number/time stamp, and a follow-up “dry now” shot. Log moisture readings at setup and again at 24/48 hours. Those notes support insurance and let your CPA treat expenses correctly.
9) Restock rules (non-negotiable)
Keep a laminated inventory on the lid with “reorder when ≤ X.” After every call:
Replace any fitting you used plus one
Wash/dry towels; restock pads and bags
Upload photos + form to your shared drive; label the ticket with cause/fix/zone shut off
Quick shopping list (starter kit)
Water key; push-fit caps/couplings (½”, ¾”); angle stops; braided supply lines; Teflon tape; faucet covers; wet/dry vac; squeegee; absorbent pads; plastic + clamps; moisture meter; IR thermometer; cones/signs; pry bar; utility knives; GFCI/outlet testers; headlamps; nitrile gloves; Tyvek suit; extension cords; incident forms; laminated shutoff maps & vendor sheet.
The payoff
An emergency plumbing kit won’t replace your plumber—but it buys time. You’ll shut off the smallest zone, cap the break, extract water, protect neighbors, and hand vendors a documented, contained job. That’s the difference between a controlled repair and a week of drywall. Build it now, practice once, restock always. The next late-night leak becomes a checklist, not a crisis.

